Computer Image on USB
Plug the USB cable in and ensure that power and Ethernet are connected.
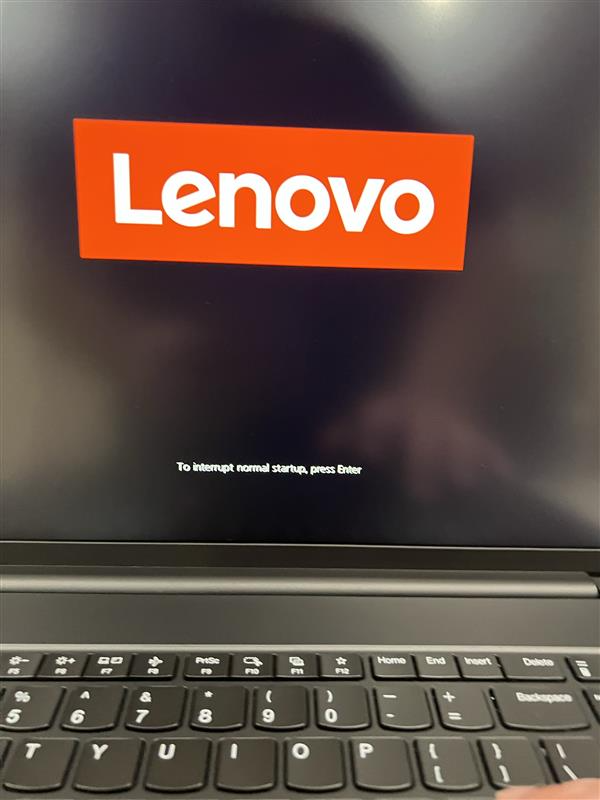
If the PC is on, restart it, then press Enter when this screen appears (it appears quickly).
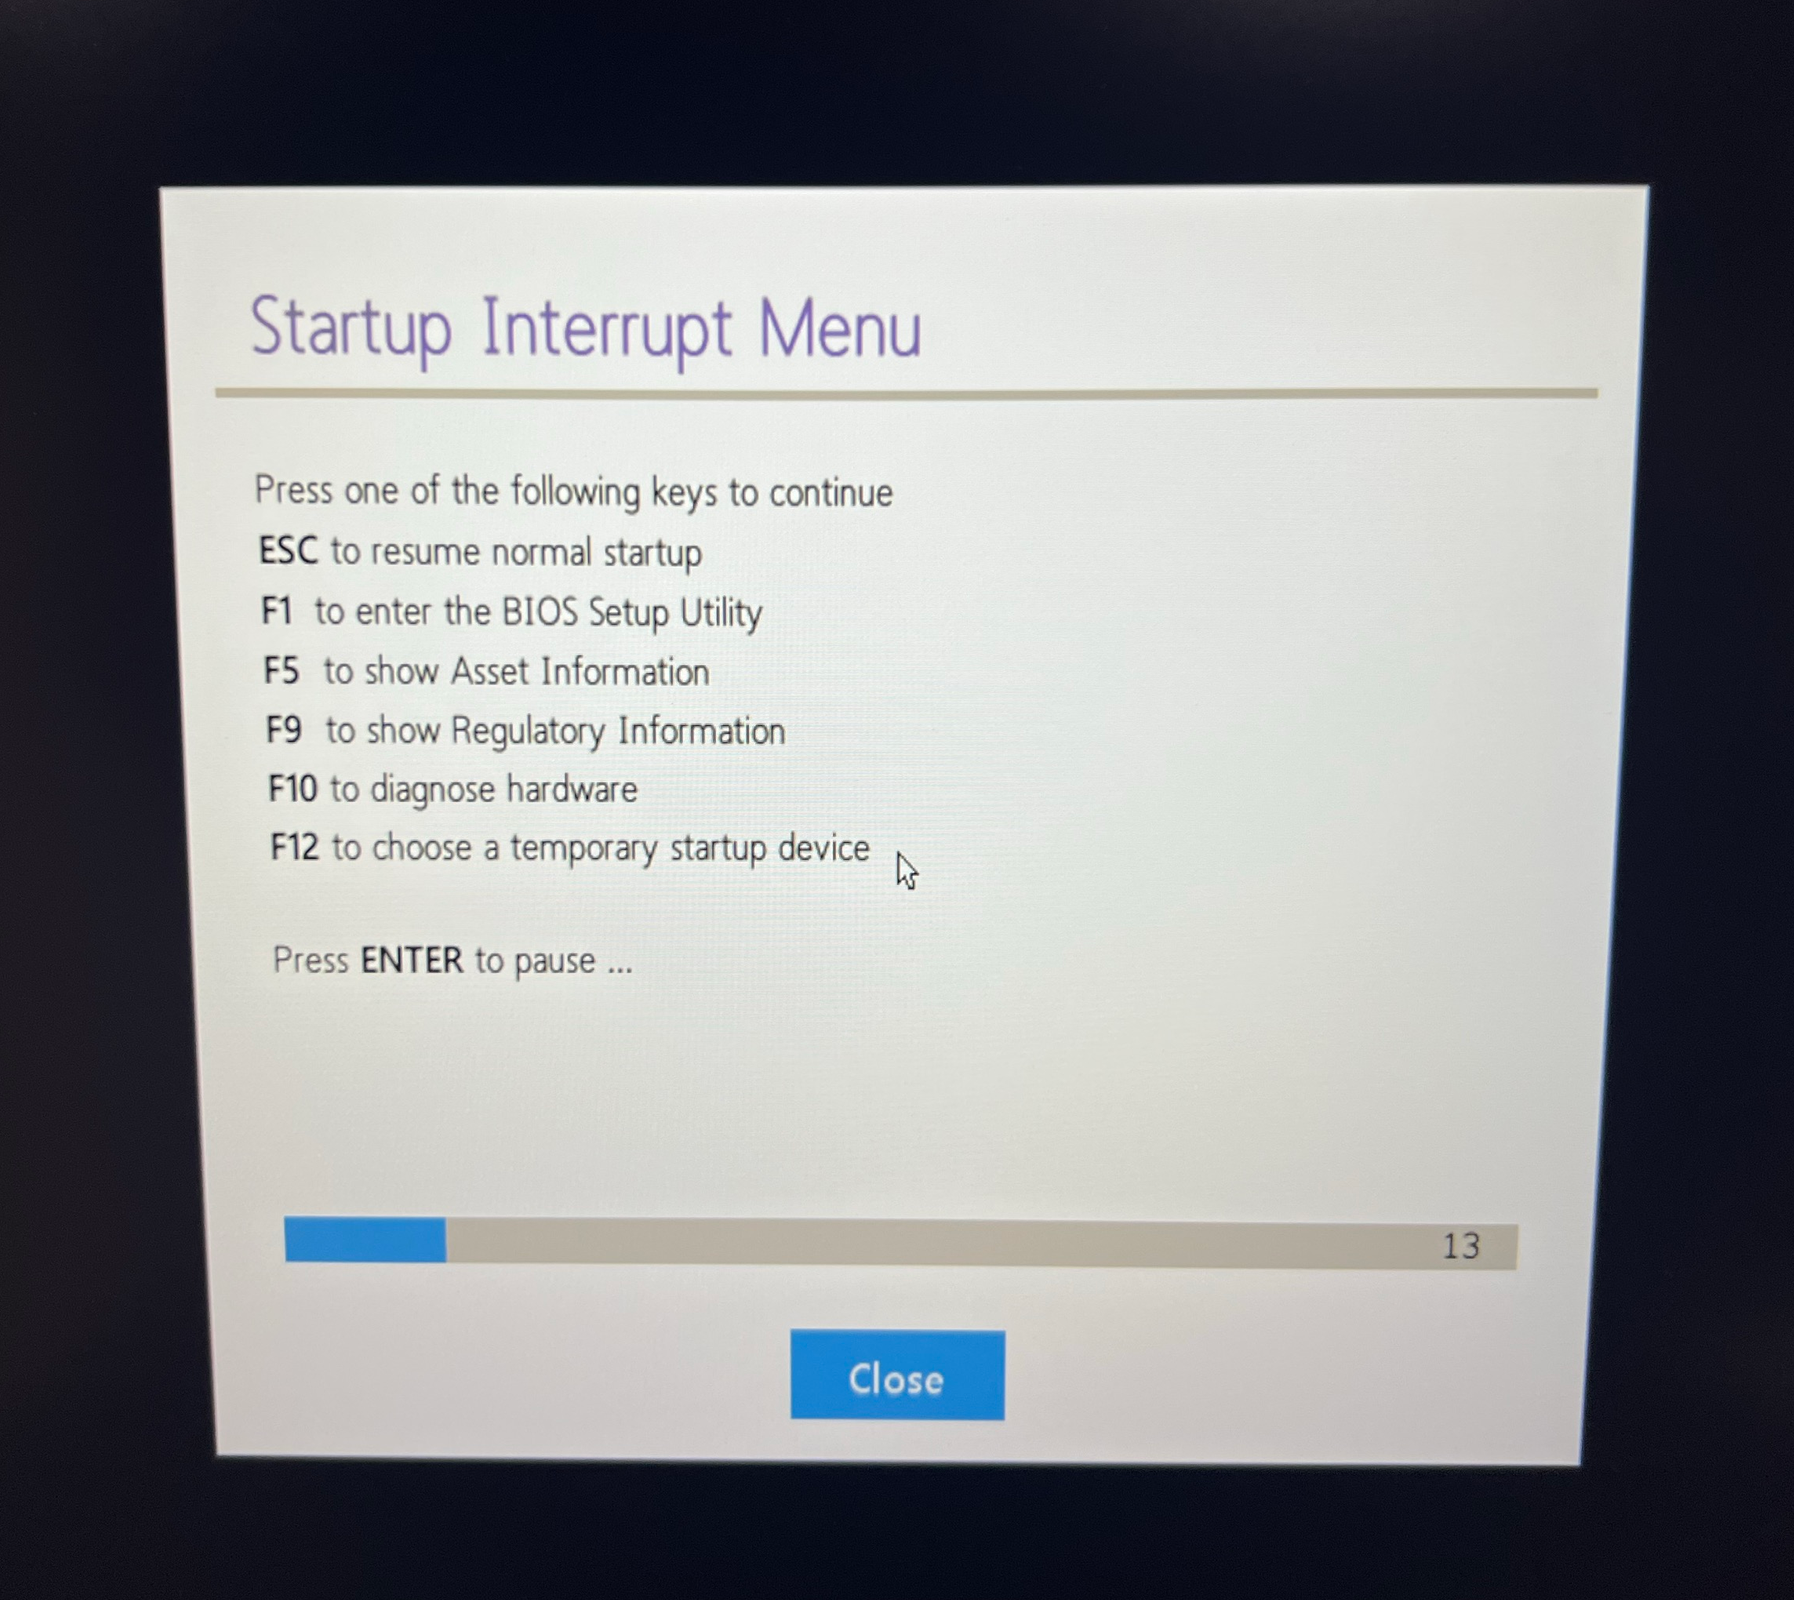
Press F12 at the next menu.
From this menu, select the USB HDD option. The process will begin and will take a few minutes.
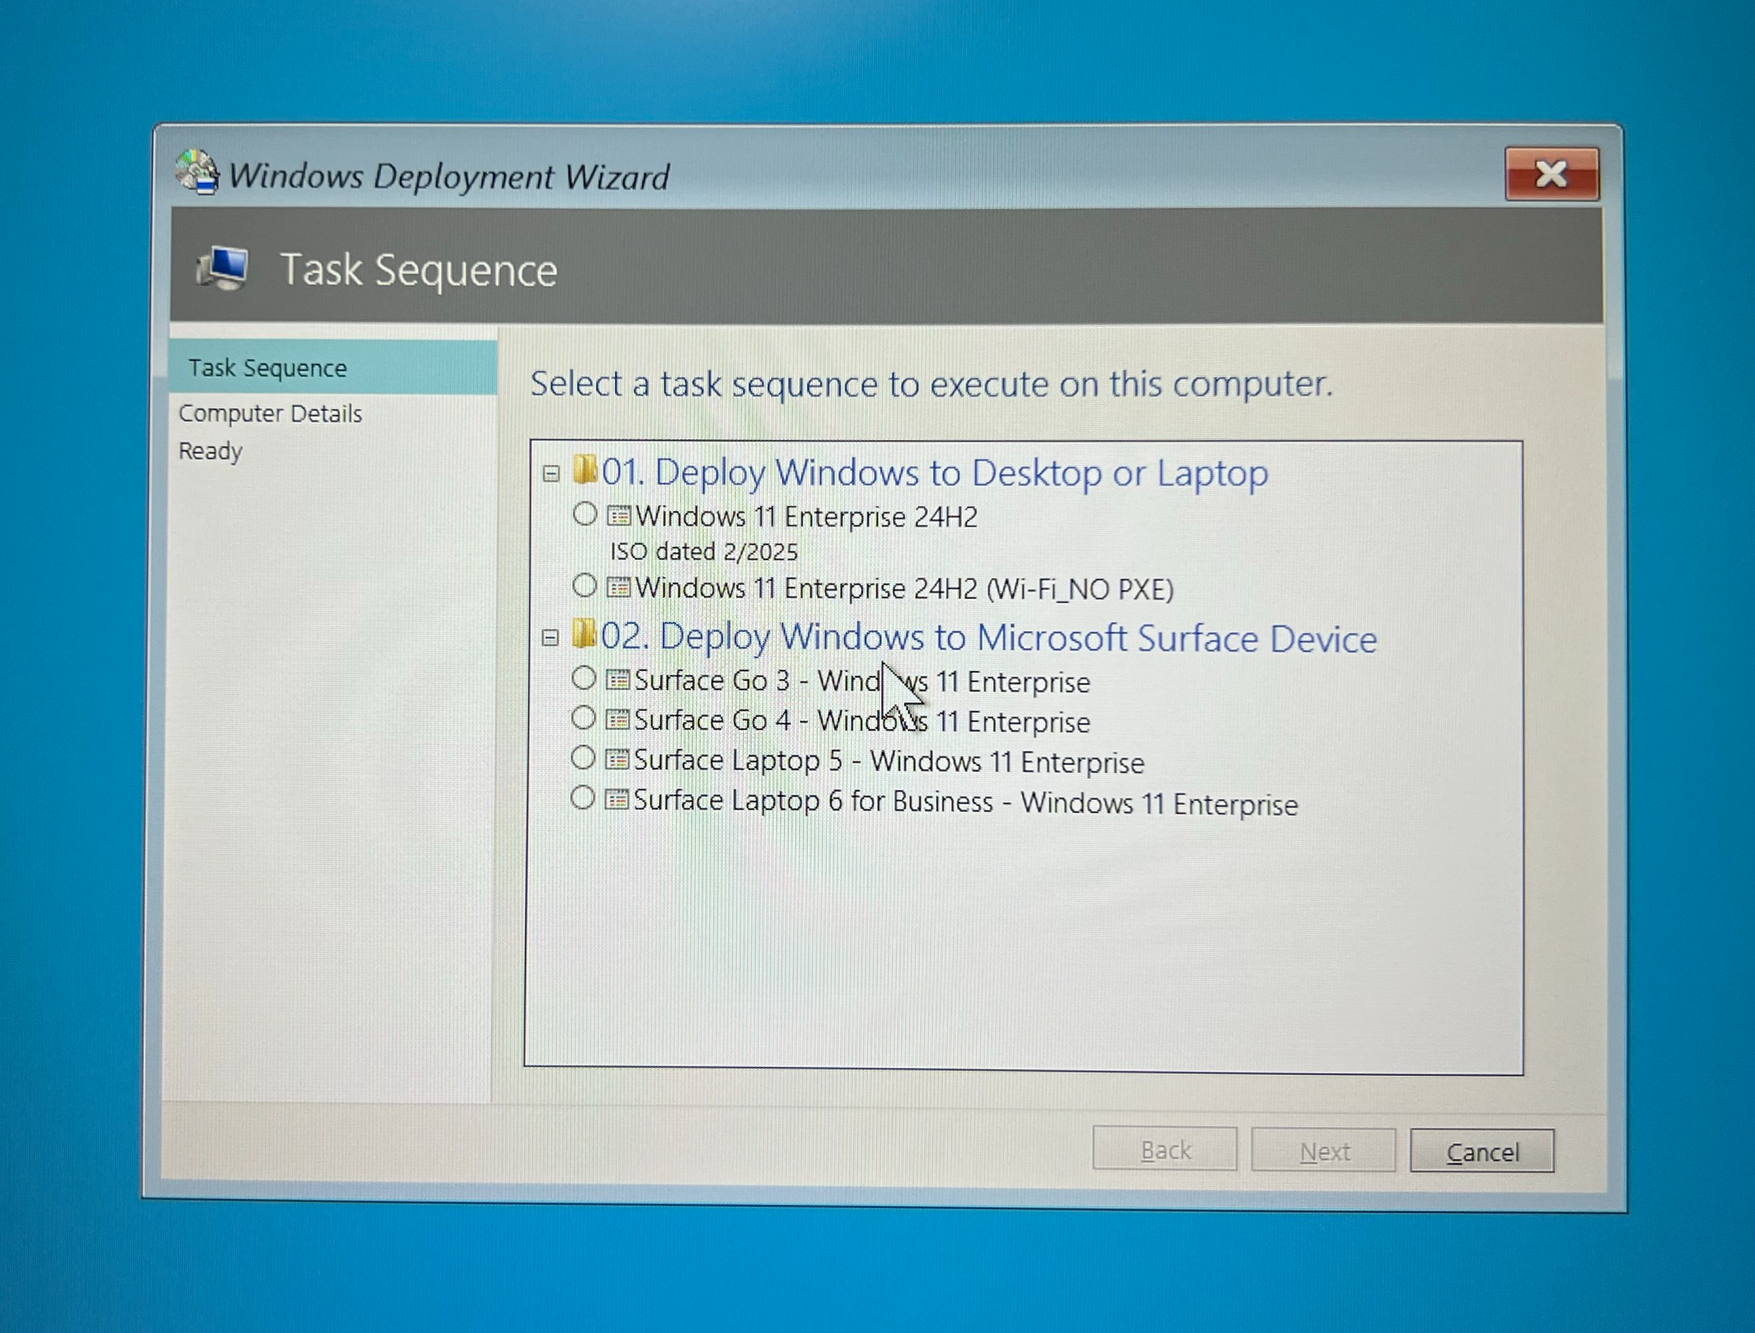
Select the first option, Windows 11 Enterprise 24H2. Once selected, hit Next at the bottom right. Do not change anything on the next screen; select Next again.
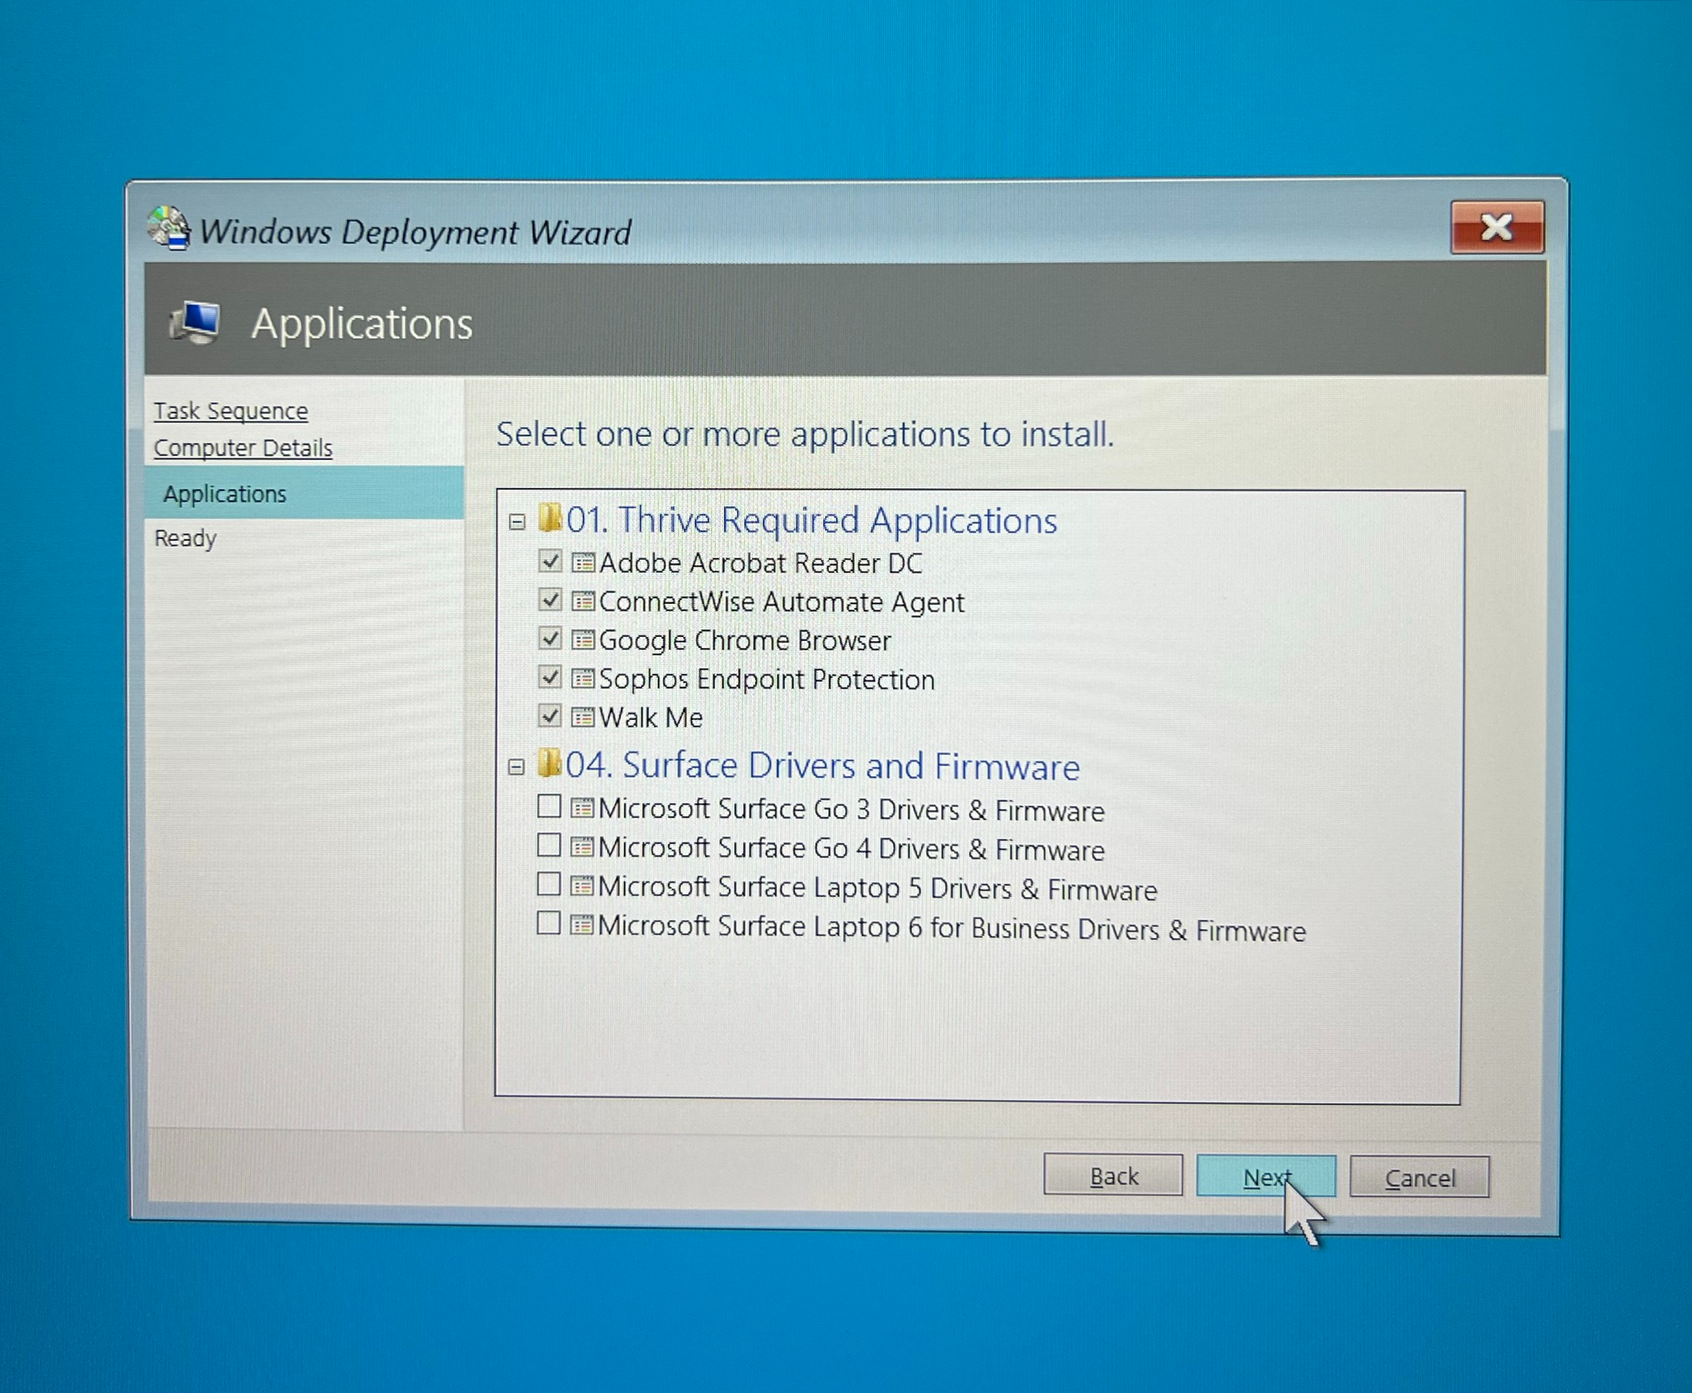
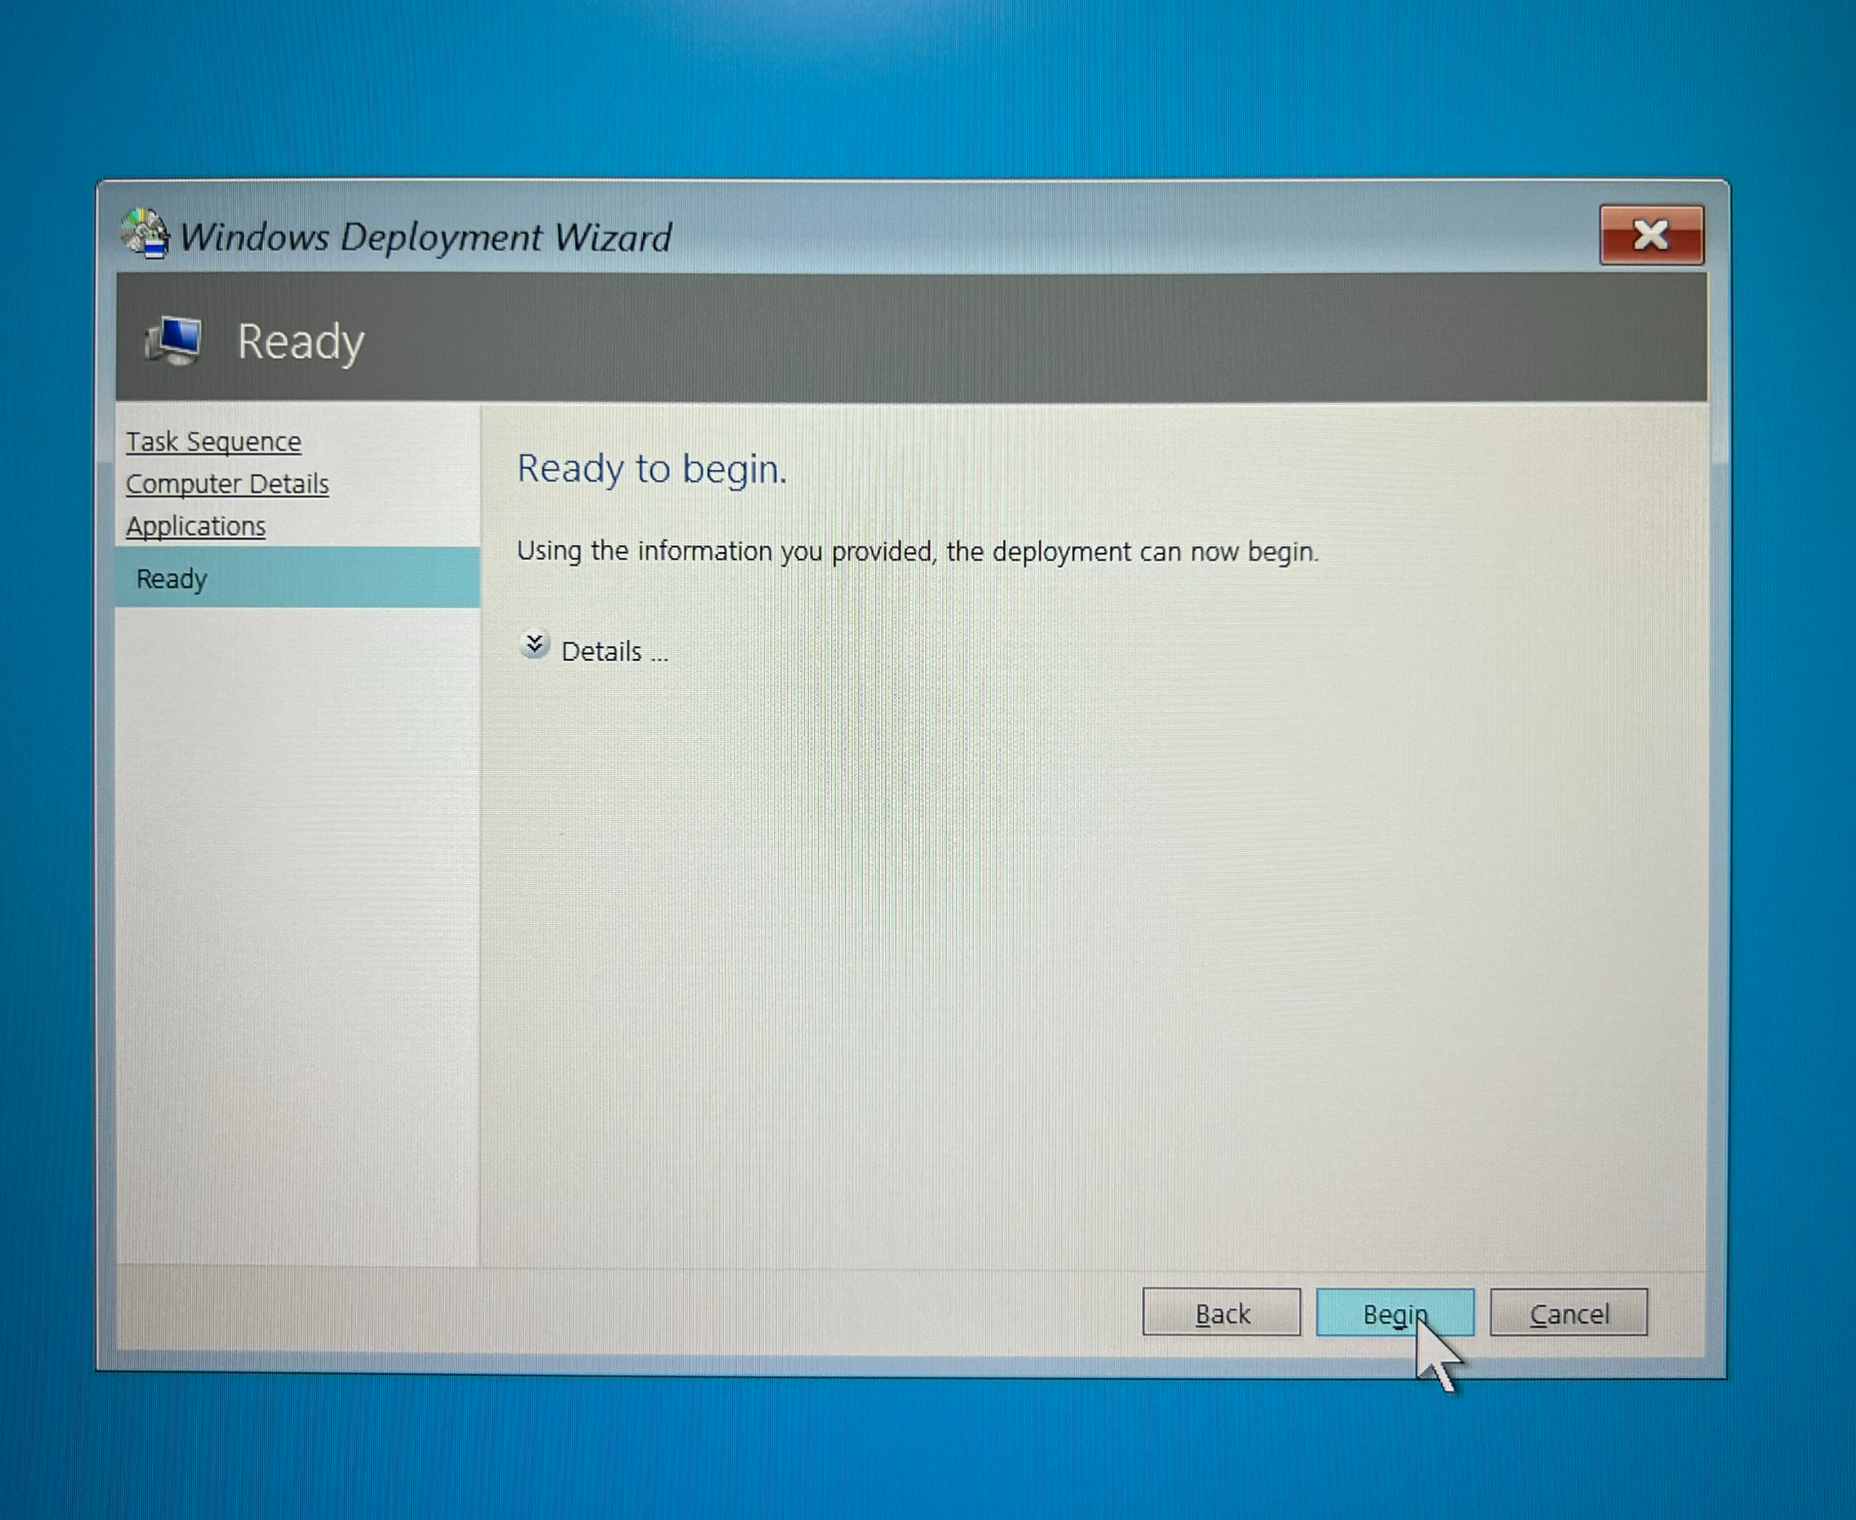
Again, don’t select or deselect anything on this screen; just hit Next and then click Begin to start the imaging process.
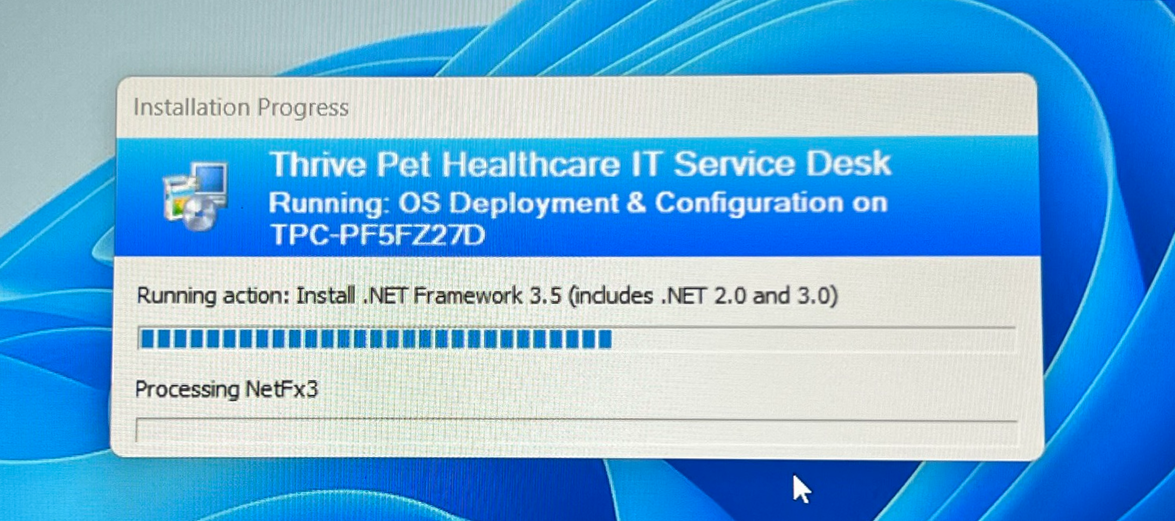
The device will restart multiple times throughout this process, which will take approximately one to one and a half hours. You will not need to interact with the device during this time; the screen will display this image while it is imaging.
Once completed, this screen will pop up.
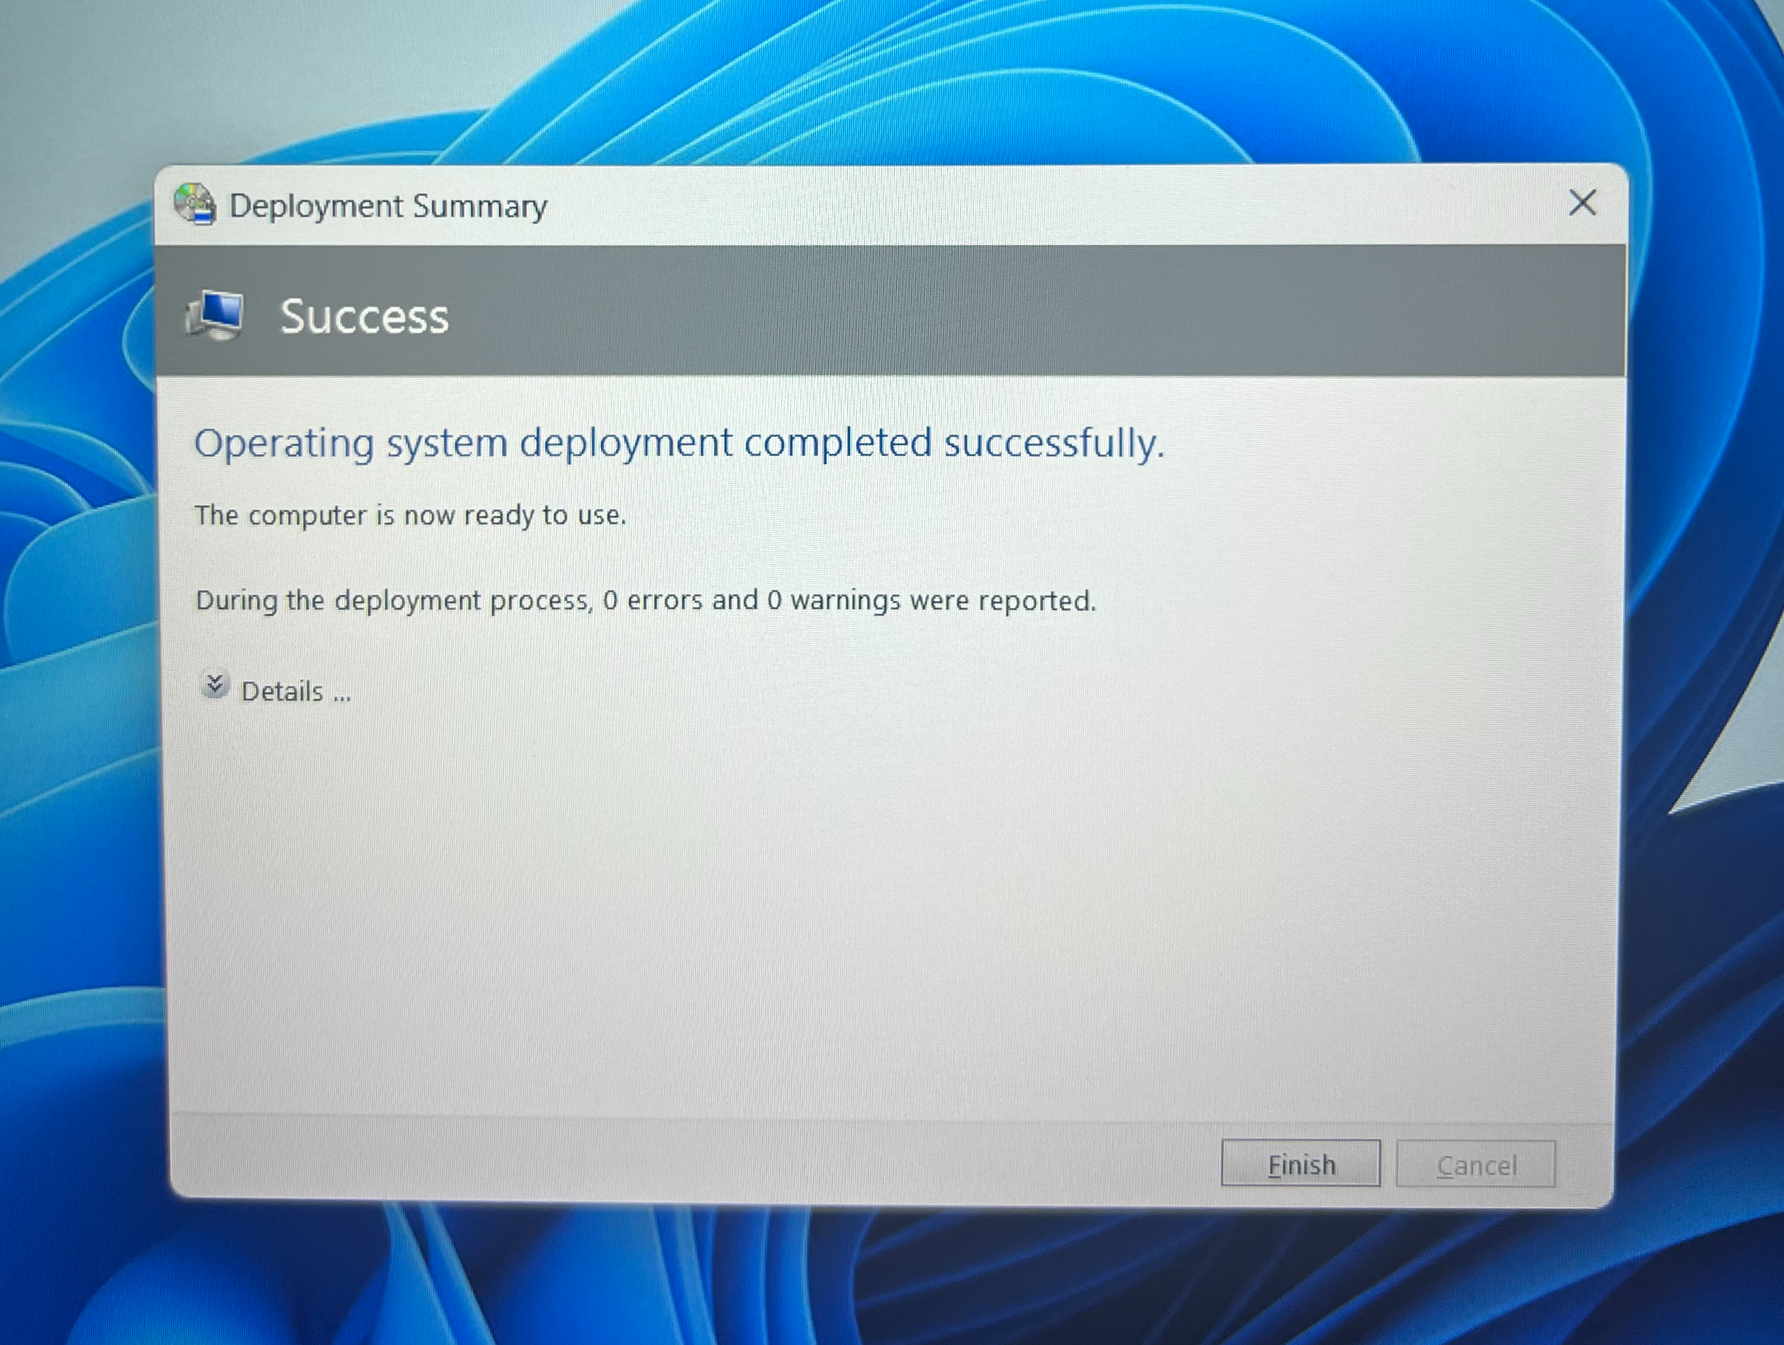
Any errors will appear in yellow. If there are errors, click details.
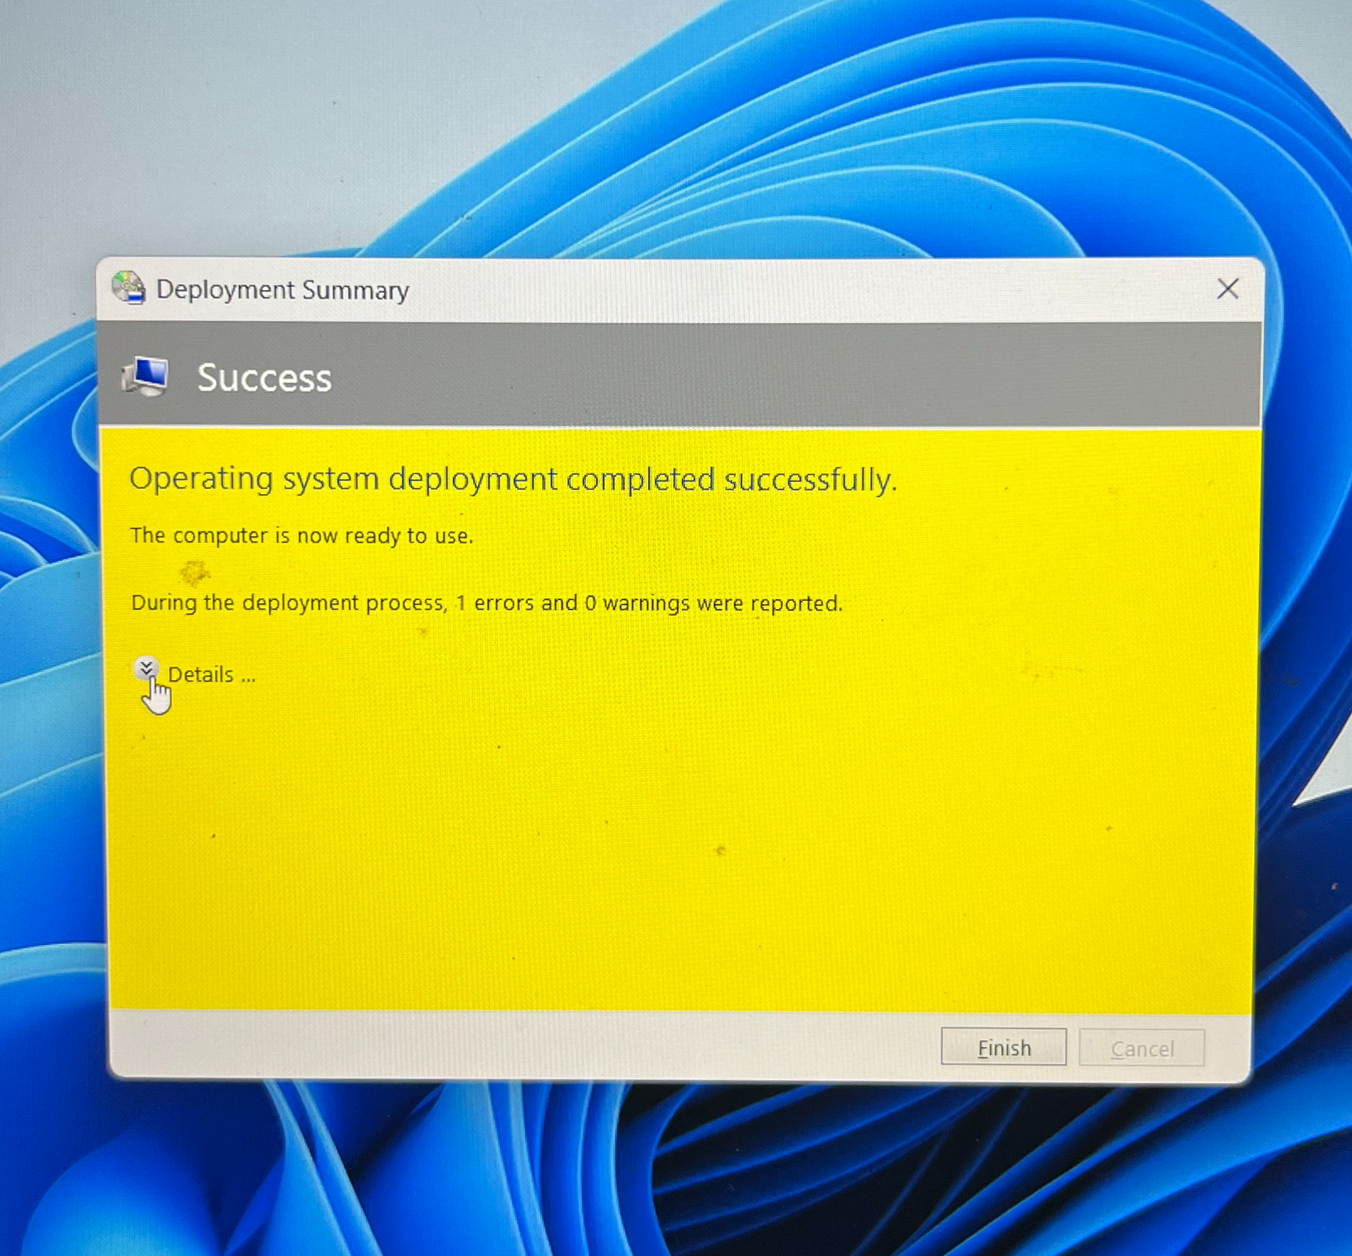
Ignore any errors except Windows updates. Select Finish.
If there are Windows Updates, run the updates on the staff profile or provide the PC name and contact ithelp@thrivepet.com for assistance to run the updates.
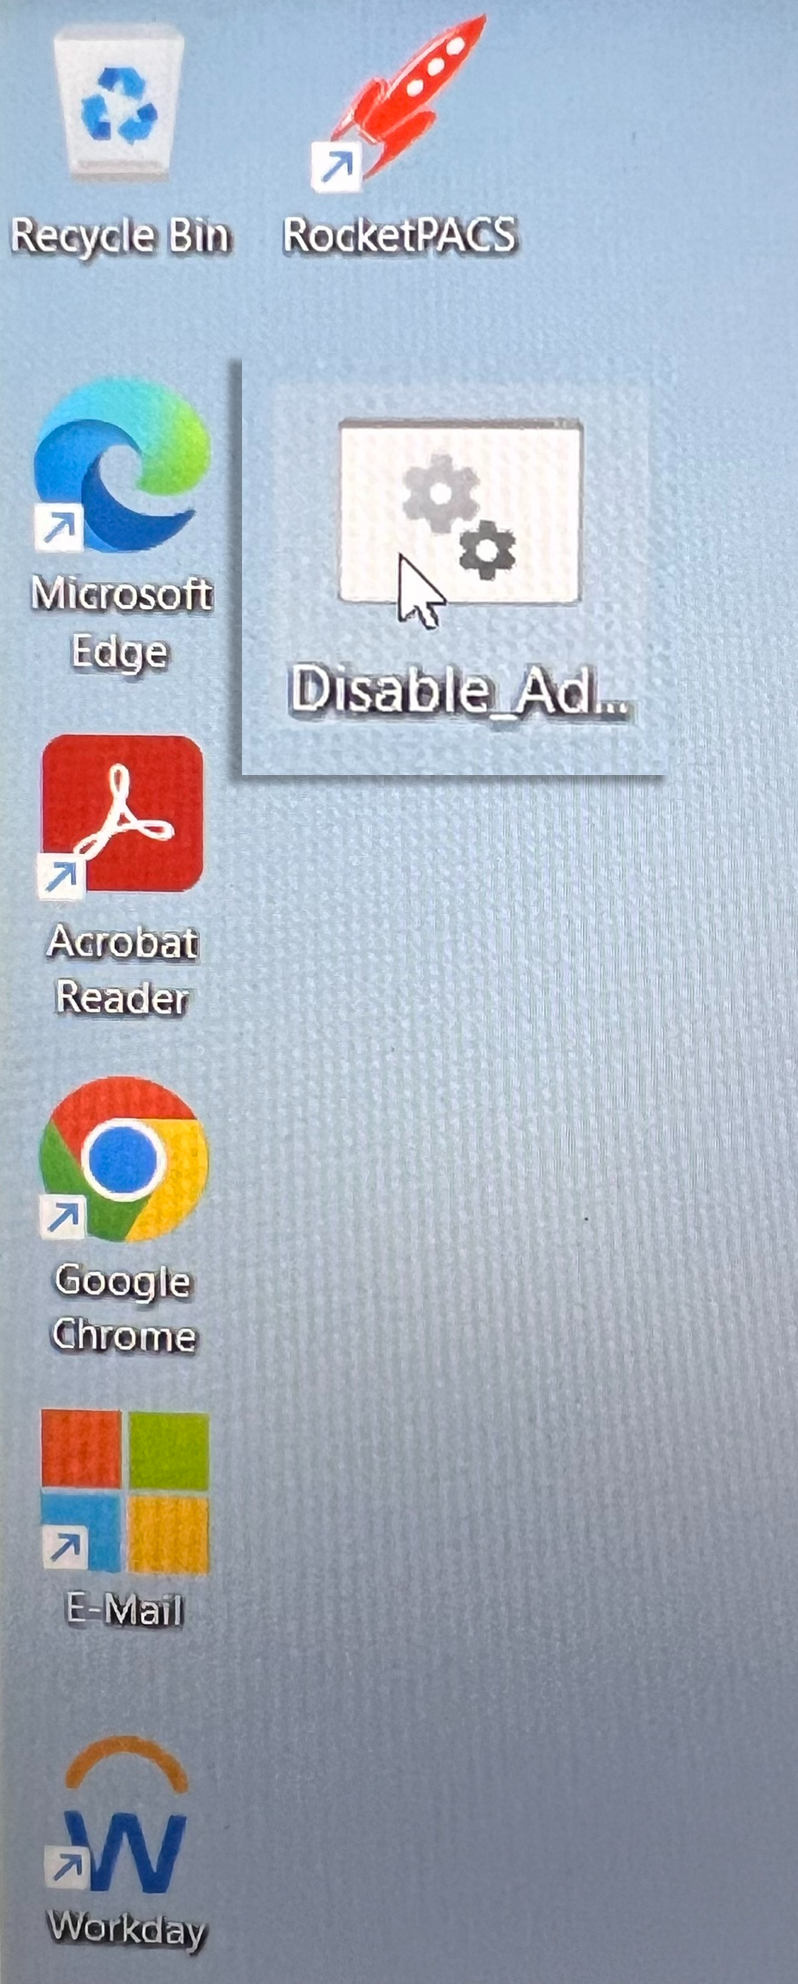
Double-click the icon shown in this image. A message will appear indicating that you are about to be signed out, and then the PC will restart and be ready for use.