Install Fonts on Windows and Mac
If opening a PDF and the font is of an unexpected style, intelligible, or to change the style of a Word document, add a new text font. To add a font, download and install it in Windows, which will then become available. If the font issue arises from within Vetspire, contact http://support.vetspire.com for assistance.
The official Thrive Pet Healthcare font family is Circular and available for you to download and use.
Note: Before downloading a font, ensure it is obtained from a trusted source.
There are several different font file types offered for our Official Font.
Follow the steps below to install the Circular font family on the computer.
Desktop Fonts
OpenType OTF
TrueType TTF
Web Fonts
Web Open Font Format WOFF
For general purposes (Word processing, PowerPoint, PDF, etc.), install the OpenType OTF font files from within the Desktop Fonts folder.
Navigate to the font download folder. You should see the following toolbar at the top of the page – click Download.

From there, decide which font file type you want to download - desktop or web, open or true type. As mentioned, the OpenType OTF font files in the Desktop Fonts folder will most likely be the ones you want to use.
Once you’re in the folder with the font type you want to install on your computer, extract the files before installing them.
Once you’re ready to install, the process differs between Windows and Mac. Click the links for instructions for each operating system.
Add a Font to Windows
Download the font files. These often come compressed in .zip folders. In one .zip folder, you might find several variations on the same font, such as “light” and “heavy.”
If the font files are zipped, unzip them by right-clicking the .zip folder and then clicking Extract to see the available TrueType and OpenType font files.

Right-click the font and click Install.

If prompted to allow the program to make changes to your computer and trust the font's source, click Yes.
The new fonts will appear in the fonts list in Word.
The next time Word is started or a PDF is opened, the fonts are added to the Font list.

Add a Font to Mac
To use fonts in your apps, you need to install the fonts using Font Book. When you’re installing fonts, Font Book lists any problems it finds for you to review. You can also validate fonts later.
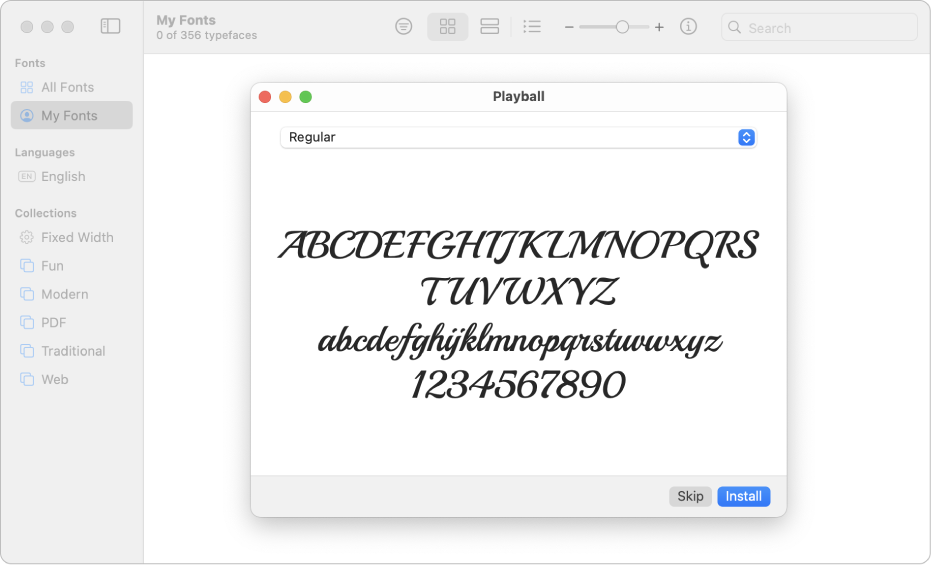
Install fonts
On your Mac, download a font file from the file above, Apple, or another source.
Note: macOS supports TrueType (.ttf), Variable TrueType (.ttf), TrueType Collection (.ttc), OpenType and OpenType-SVG (.otf), and OpenType Collection (.ttc) fonts. Legacy suitcase TrueType fonts and PostScript Type 1 LWFN fonts might work but aren’t recommended.
Do any of the following:
In the Font Book app, choose File > Add Fonts to Current User. In the window that appears, double-click the font file.

Drag the font file to the Font Book app icon in the Dock, then click Install in the dialog that appears.
Drag the font file to the Font Book window.
Double-click the font file in the Finder, then click Install in the dialog that appears.
When a font is installed, Font Book automatically validates or checks the font you’re installing for errors. Font Book also checks for duplicate fonts.
The fonts you install are available only to you or to anyone who uses your computer, depending on the default location you set for installed fonts.
Download system fonts - Mac
System fonts you can download show a download button in the Font Book window.
In the Font Book app on the Mac, click a category in the sidebar.
If you don’t see the sidebar, choose View > Show Sidebar.
Do one of the following:
Click the Download button next to a font.
Control-click a font, then choose Download.
Select multiple fonts, Control-click the selection, then choose Download.
Select one or more fonts, then choose Edit > Download.
Validate fonts
If a font isn’t displayed correctly or a document won’t open due to a corrupt font, validate the font to find issues and delete the font.
In the Font Book app on your Mac, do one of the following:
Select a font, then choose File > Validate Selection.
Choose File > Validate File, then browse for the font file in the Finder.
In the Font Validation window, click the arrow next to a font to review details.
A green icon indicates the font passed, a yellow icon indicates a warning, and a red icon indicates it failed.
To delete a failed font, select the checkbox next to it, then click Remove Checked.
Tip: To find warnings or errors in a long list of fonts, click the pop-up menu at the top of the Font Validation window, then choose Warnings or Errors.